

Getting Started
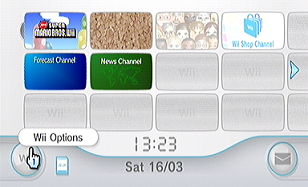
First, open your "Wii Options".
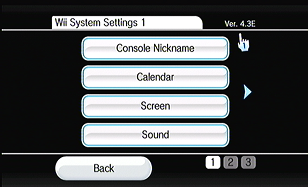
In order to proceed, update your Wii to version 4.3. If you don't want to update, follow THIS guide instead.
Note down which letter appears after 4.3 - where the hand is pointing to in the picture - as you'll need it for LetterBomb!
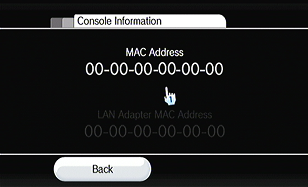
If your console is fully updated, go into your "Internet" settings, and then to "Console Information". Write down the MAC Address.
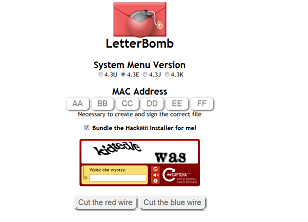
Next, go HERE. Input your MAC Address, select the System Menu version and fill in the Captcha. Make sure "Bundle the hackmii installer for me" is checked. Cut the red wire.
A zip file will begin downloading. Save it.
Plug in your SD card and locate a folder named "private". If it exists, rename it to "private_old". Then, unpack* the zip file onto the root** of your SD Card. Delete the .txt files, they're not needed.
(Make sure that the SD is formatted to FAT)
* - To unpack a zip file, download a program like 7-Zip.
** - Look HERE for an explanation what "root" of an SD card is.
Installing the Homebrew Channel
Insert the SD card into your Wii. Open the Wii Message Board, and scroll back a few pages. On one, you should see the Letterbomb letter.
Click on it, and confirm.
The ① button will take a while to appear, but be patient, and then press it.
On this screen, press continue.
Here, press "Install the Homebrew Channel". After it finishes, click on "exit".
The Homebrew Channel should be installed and ready!
Setting up Riivolution and Newer
You can return your "private_old" folder back to "private" now, and delete the Letterbomb "private" and "boot.elf".
Continue to the next part of the install guide HERE.